 01
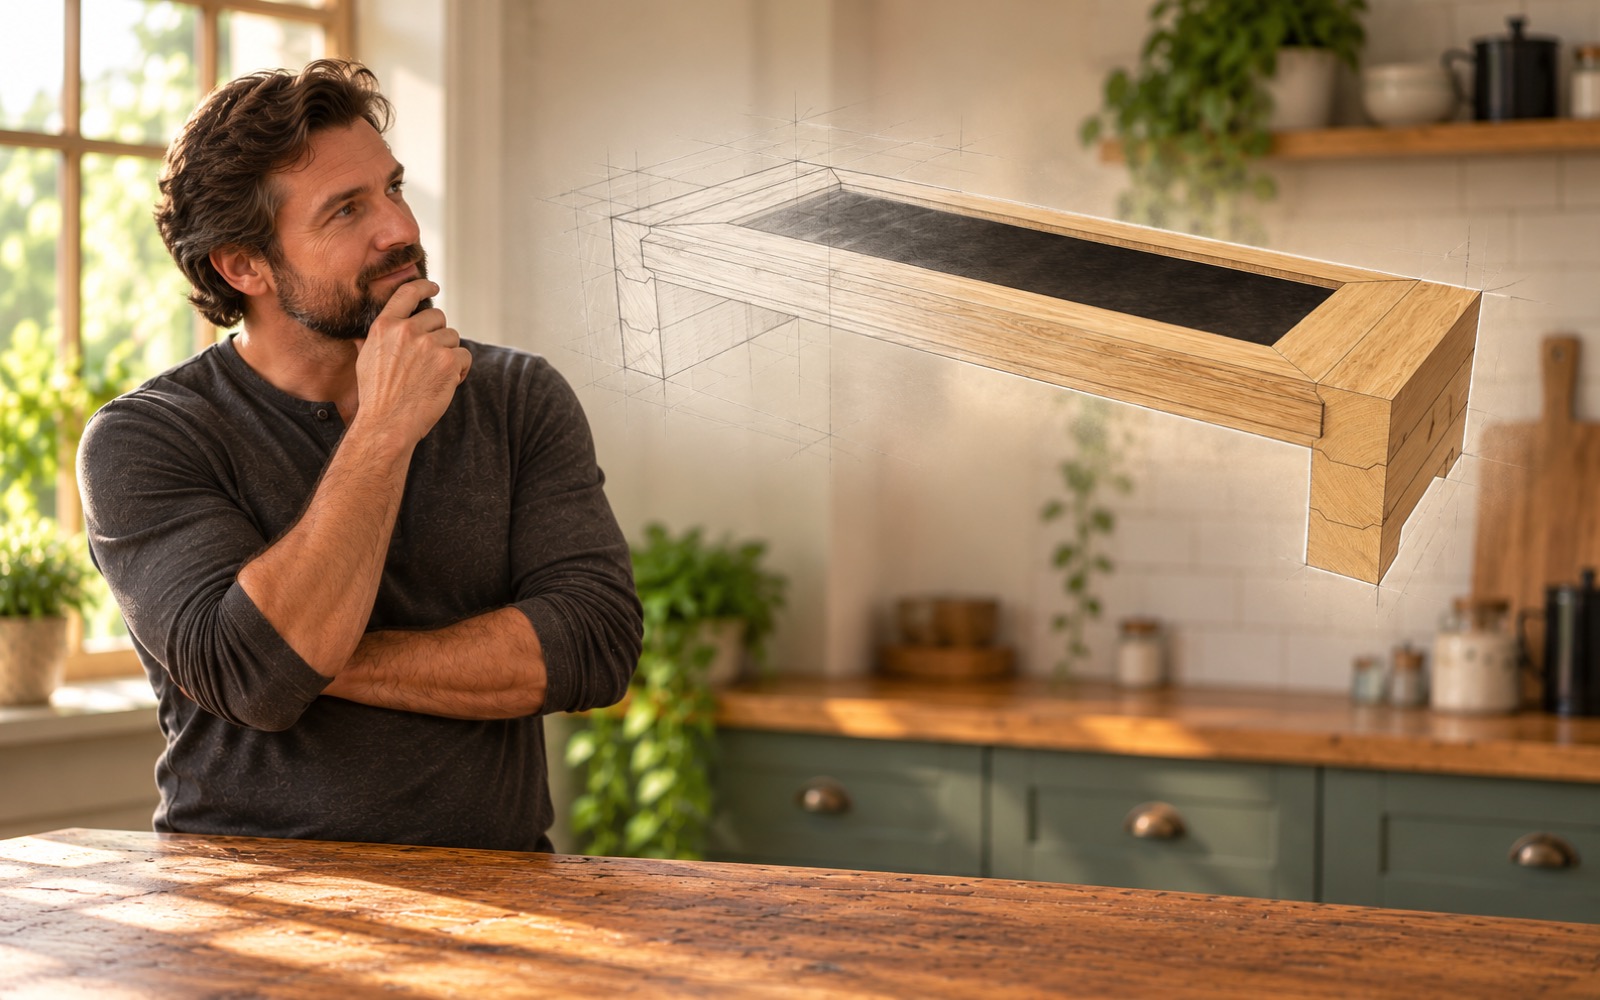
Imagine
Begin with a useful object or an idea worth exploring.
Create · The Kitchen Table Carpenter
Start with an idea. Work within the system. Make it your own.
Prepared profiles, familiar tools and purpose-built guides create a practical route from first sketch to finished object.Create is where the instructions stop deciding the finished object.
The components still share I-Wood's common geometry, but the maker now chooses the purpose, scale and arrangement. A prepared system becomes the starting point for personal decisions rather than the definition of one predetermined result.
This is not a claim that woodworking requires no skill. It is a structured way to begin developing that skill through projects that remain understandable and achievable.
From intention to object
The maker contributes the idea and the judgement. The system helps carry that intention through a repeatable sequence.
01Begin with a useful object or an idea worth exploring.
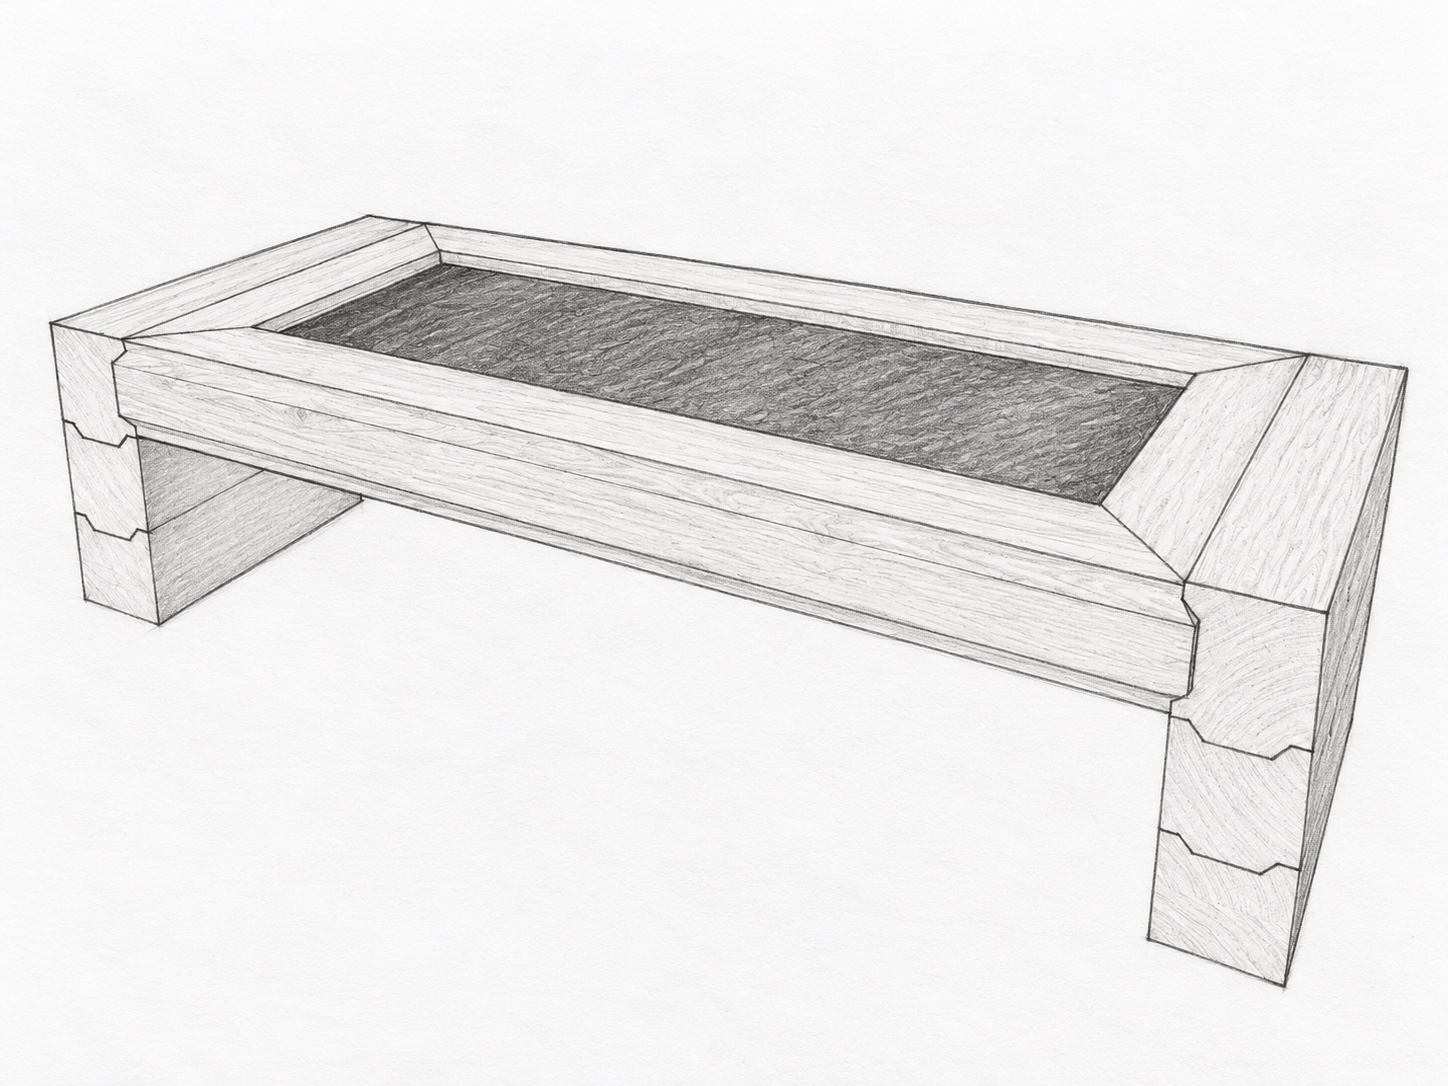 02
Choose the proportions, arrangement and purpose.
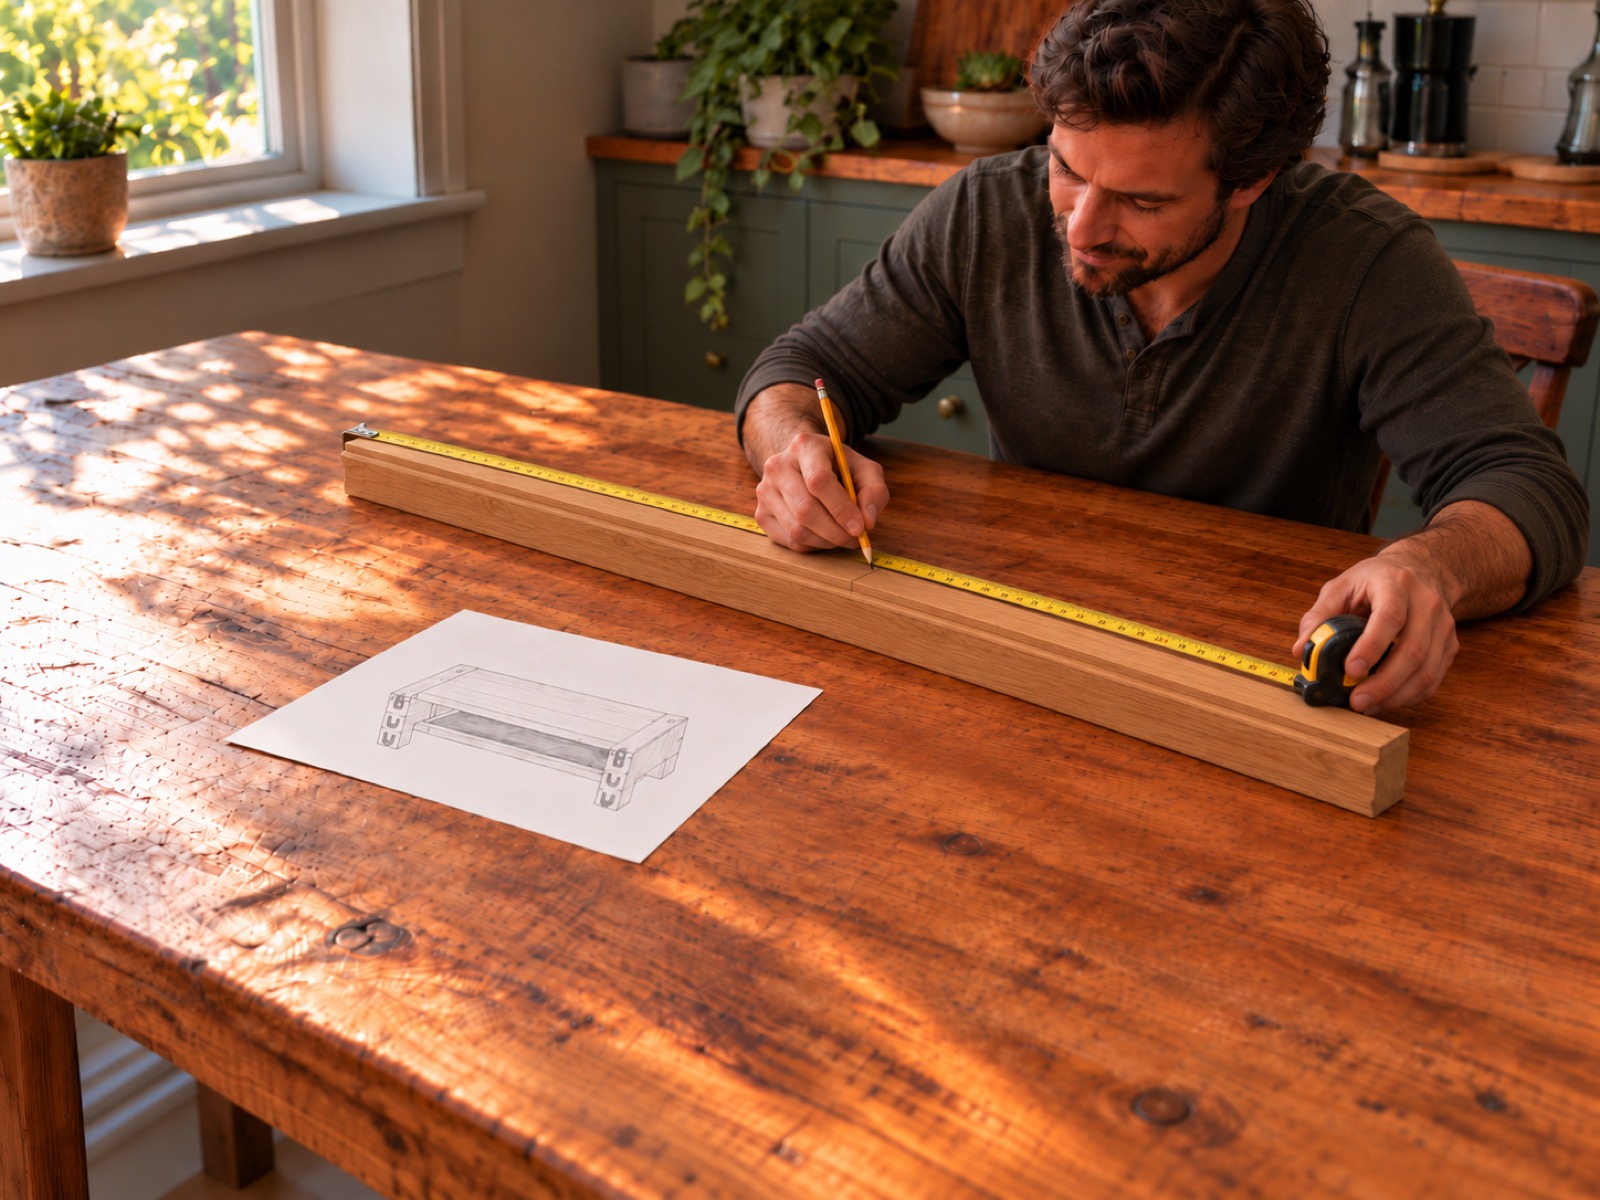 03
Translate the idea into the lengths the project requires.
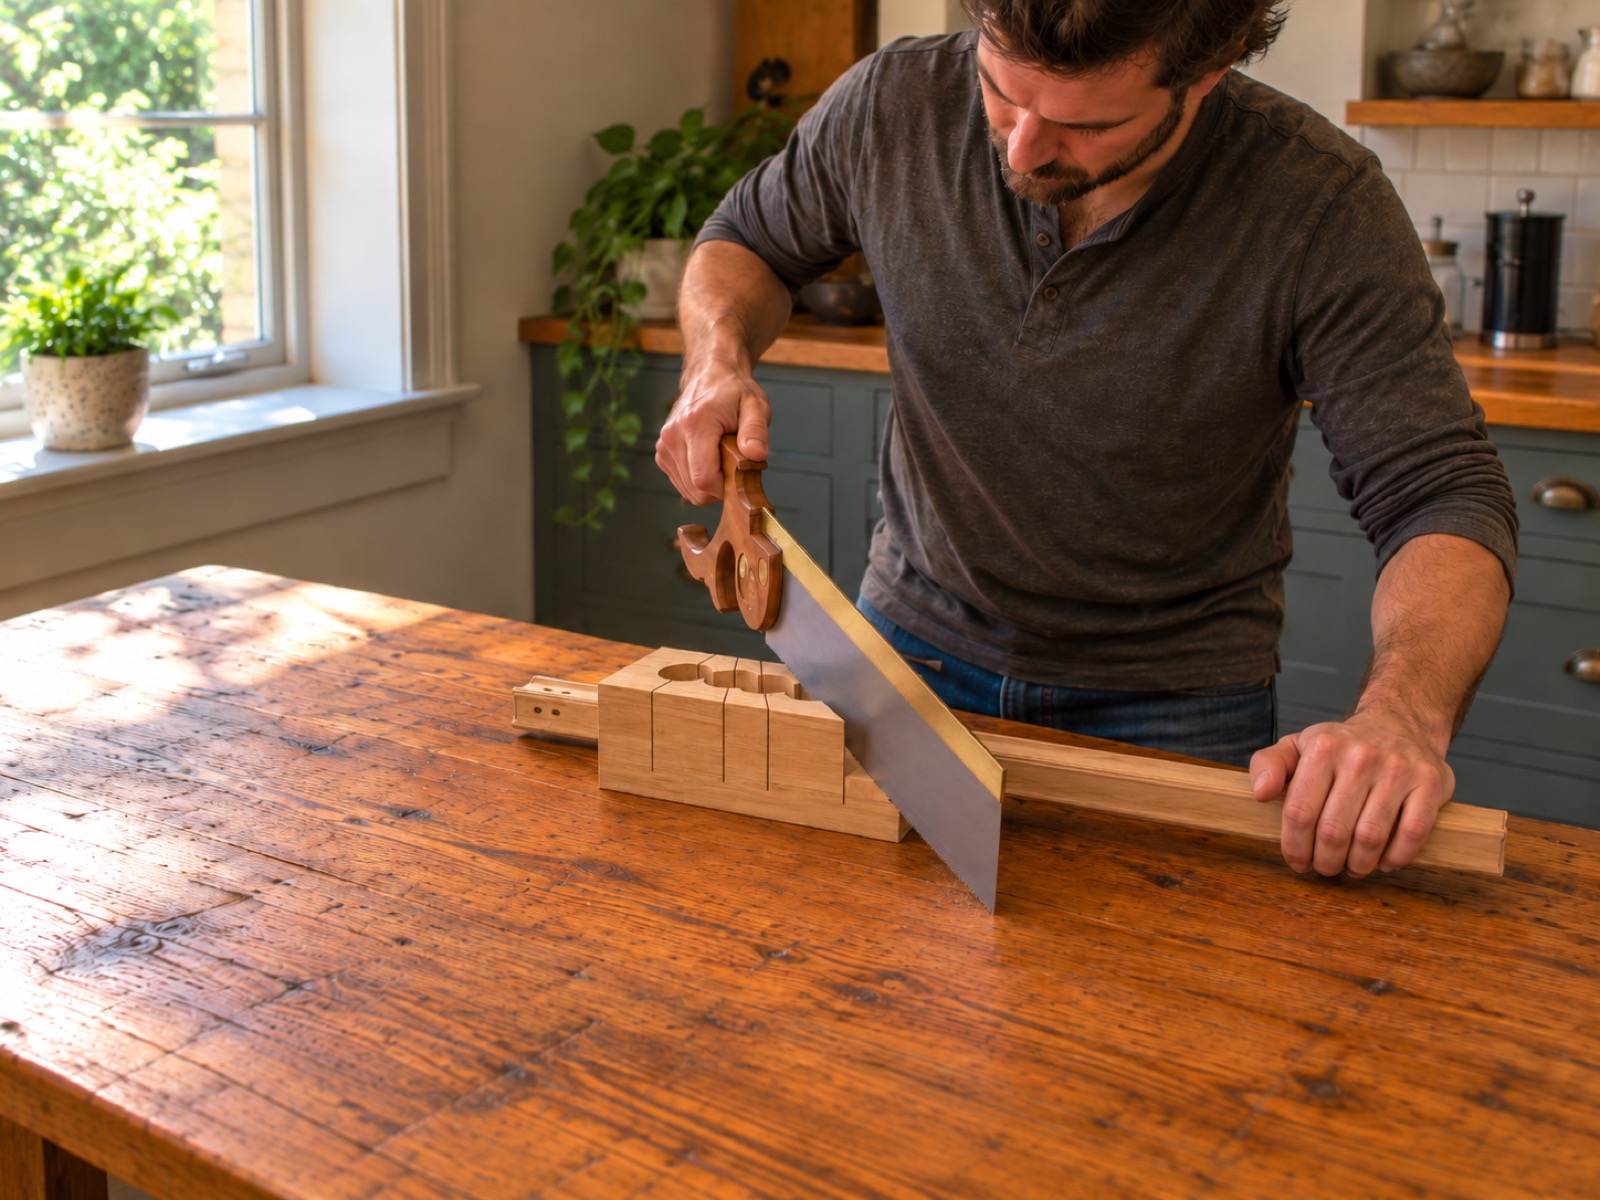 04
Prepare each component with a controlled, guided operation.
 05
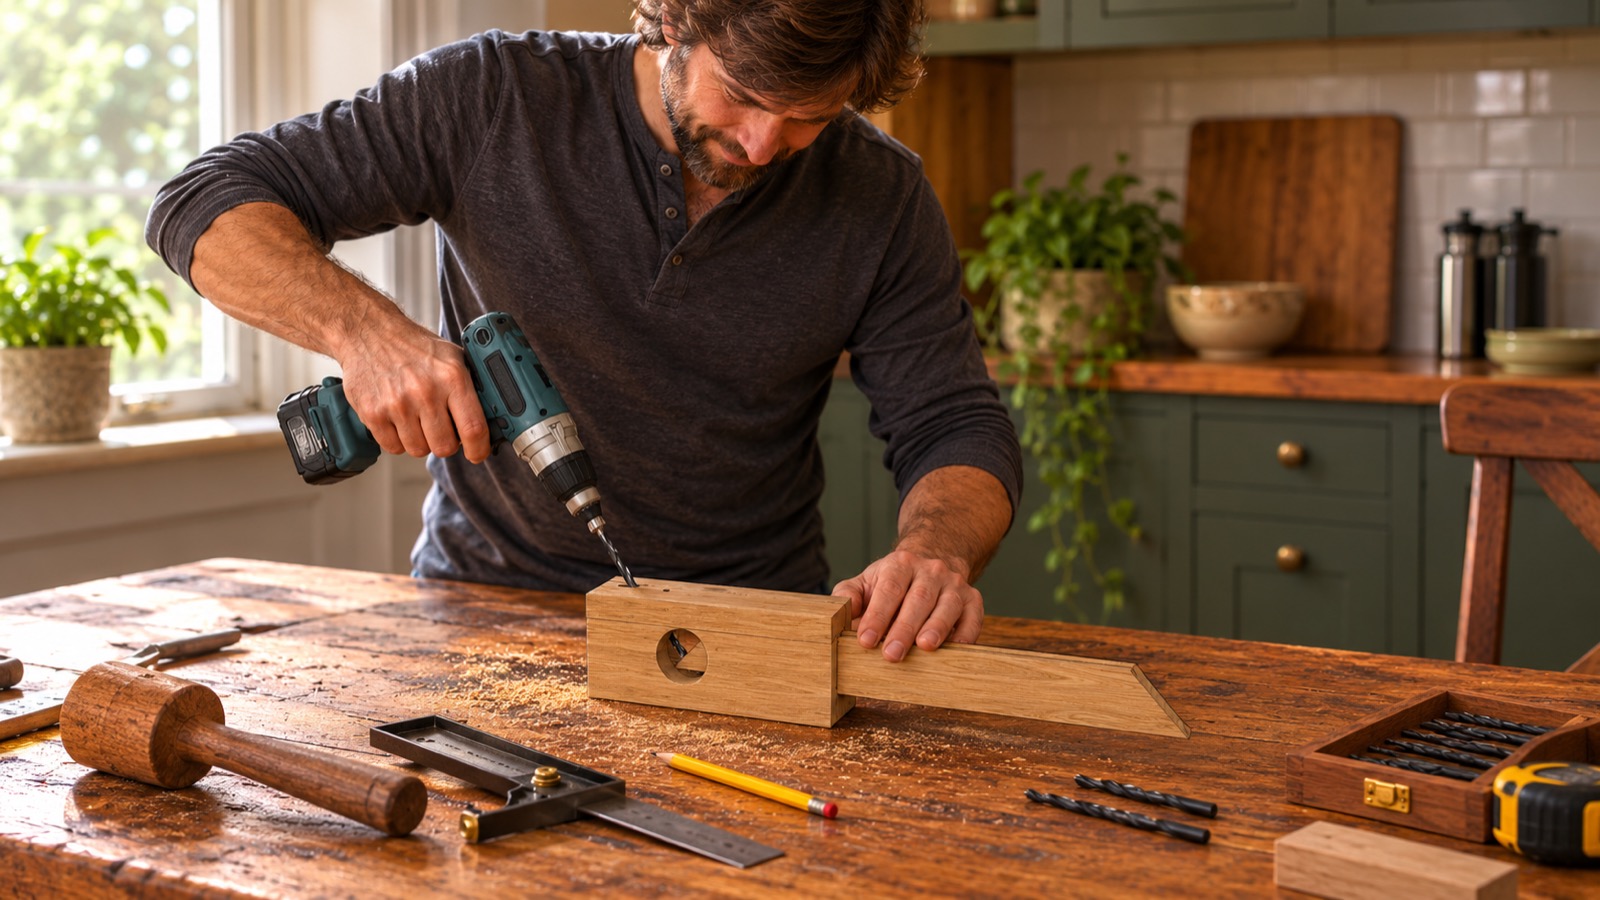
Establish repeatable connection points with the drilling guide.
 06
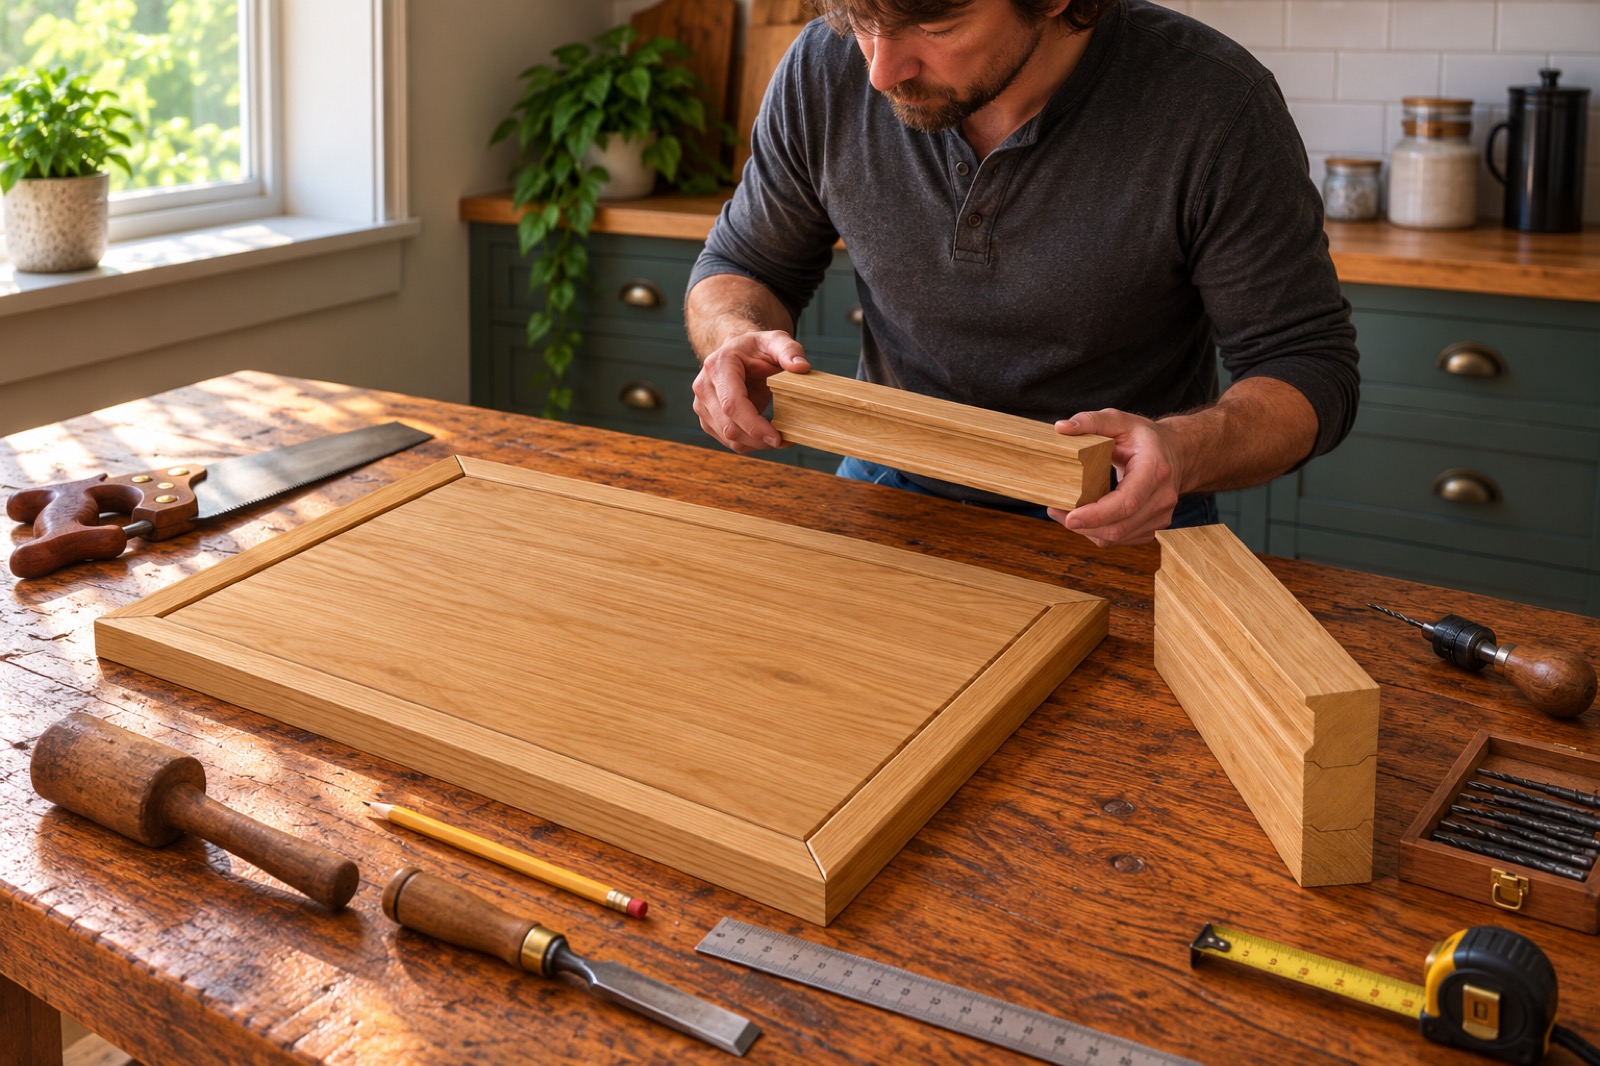
Bring the prepared parts together through familiar I-Wood logic.
01
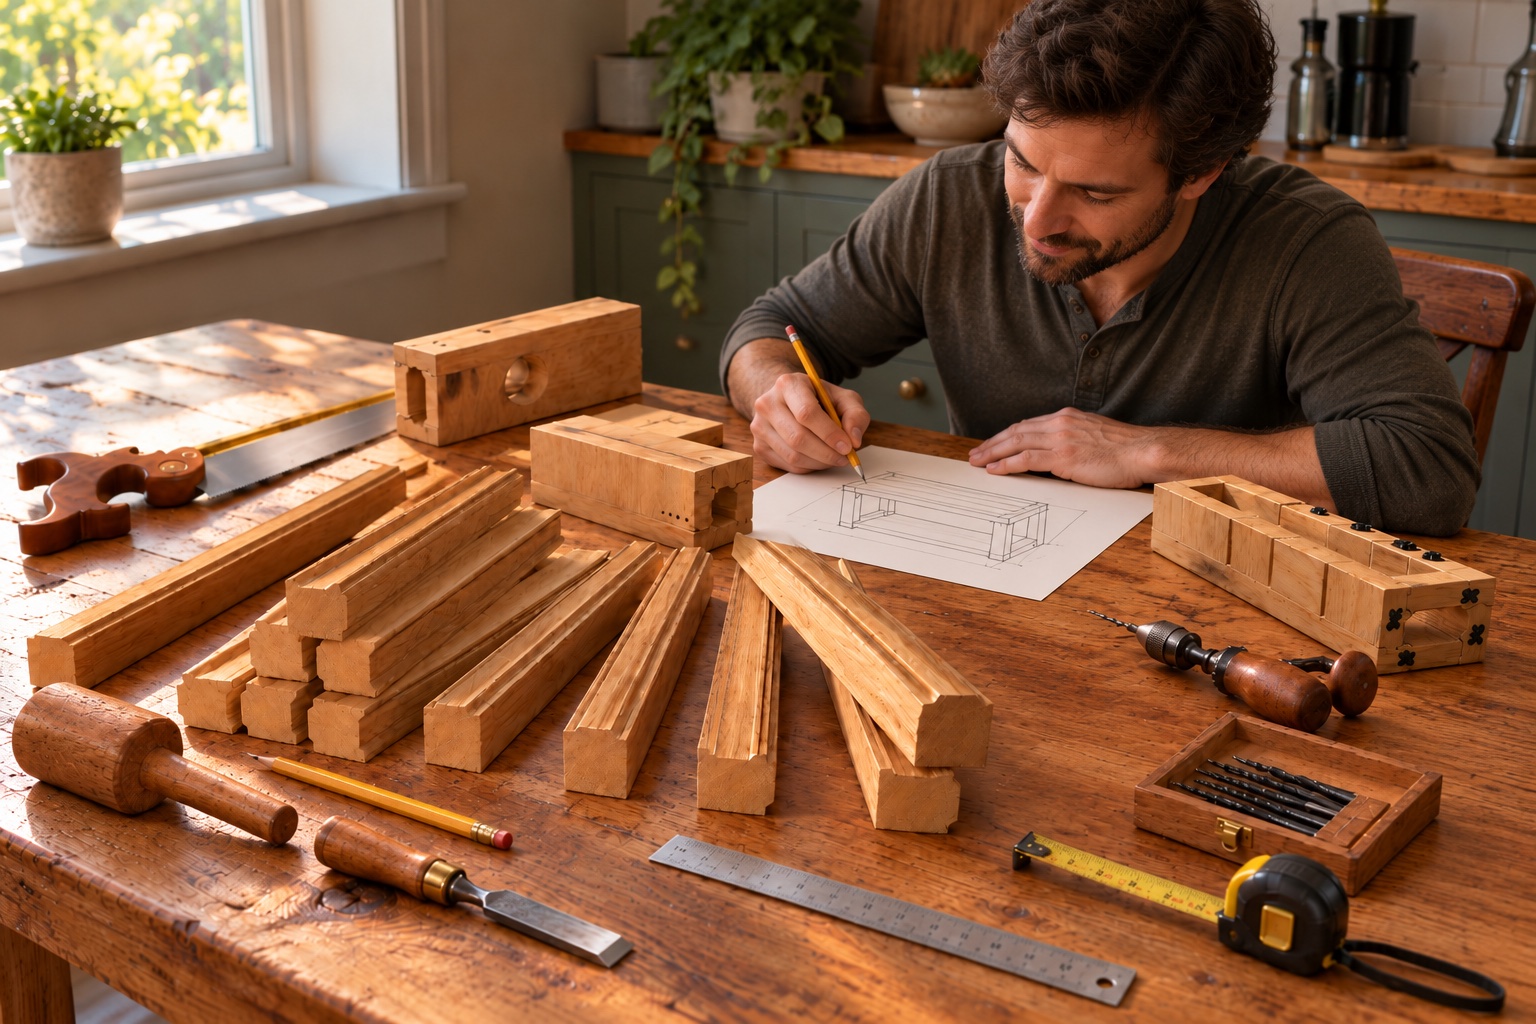
Begin with a decision
A rough drawing does not need to be a professional plan. It gives the maker somewhere to begin: a use, a proportion and a relationship between the parts.
Prepared I-Wood profiles provide a consistent material language around that idea. The drawing can remain personal while the components and connections remain compatible.
02
Creative control, structured help
I-Wood does not replace the decisions involved in making. It gives those decisions a repeatable framework so the same connection does not have to be reinvented at every joint.
What the object will do
Its dimensions and proportions
How the components are arranged
Compatible prepared profiles
Guided cutting and drilling
Repeatable connection geometry
Learning through useful work
Each project introduces real decisions and real operations. Confidence develops as the maker understands how measurements, prepared profiles, guides and connections work together.
Compatible components reduce uncertainty without predetermining the finished object.
Measure, cut, drill, position and connect through a manageable sequence.
As understanding grows, projects can become more individual and more ambitious.
The third way into I-Wood
Begin with prepared profiles. Finish with something that did not exist before you imagined it.
Explore all five pathways